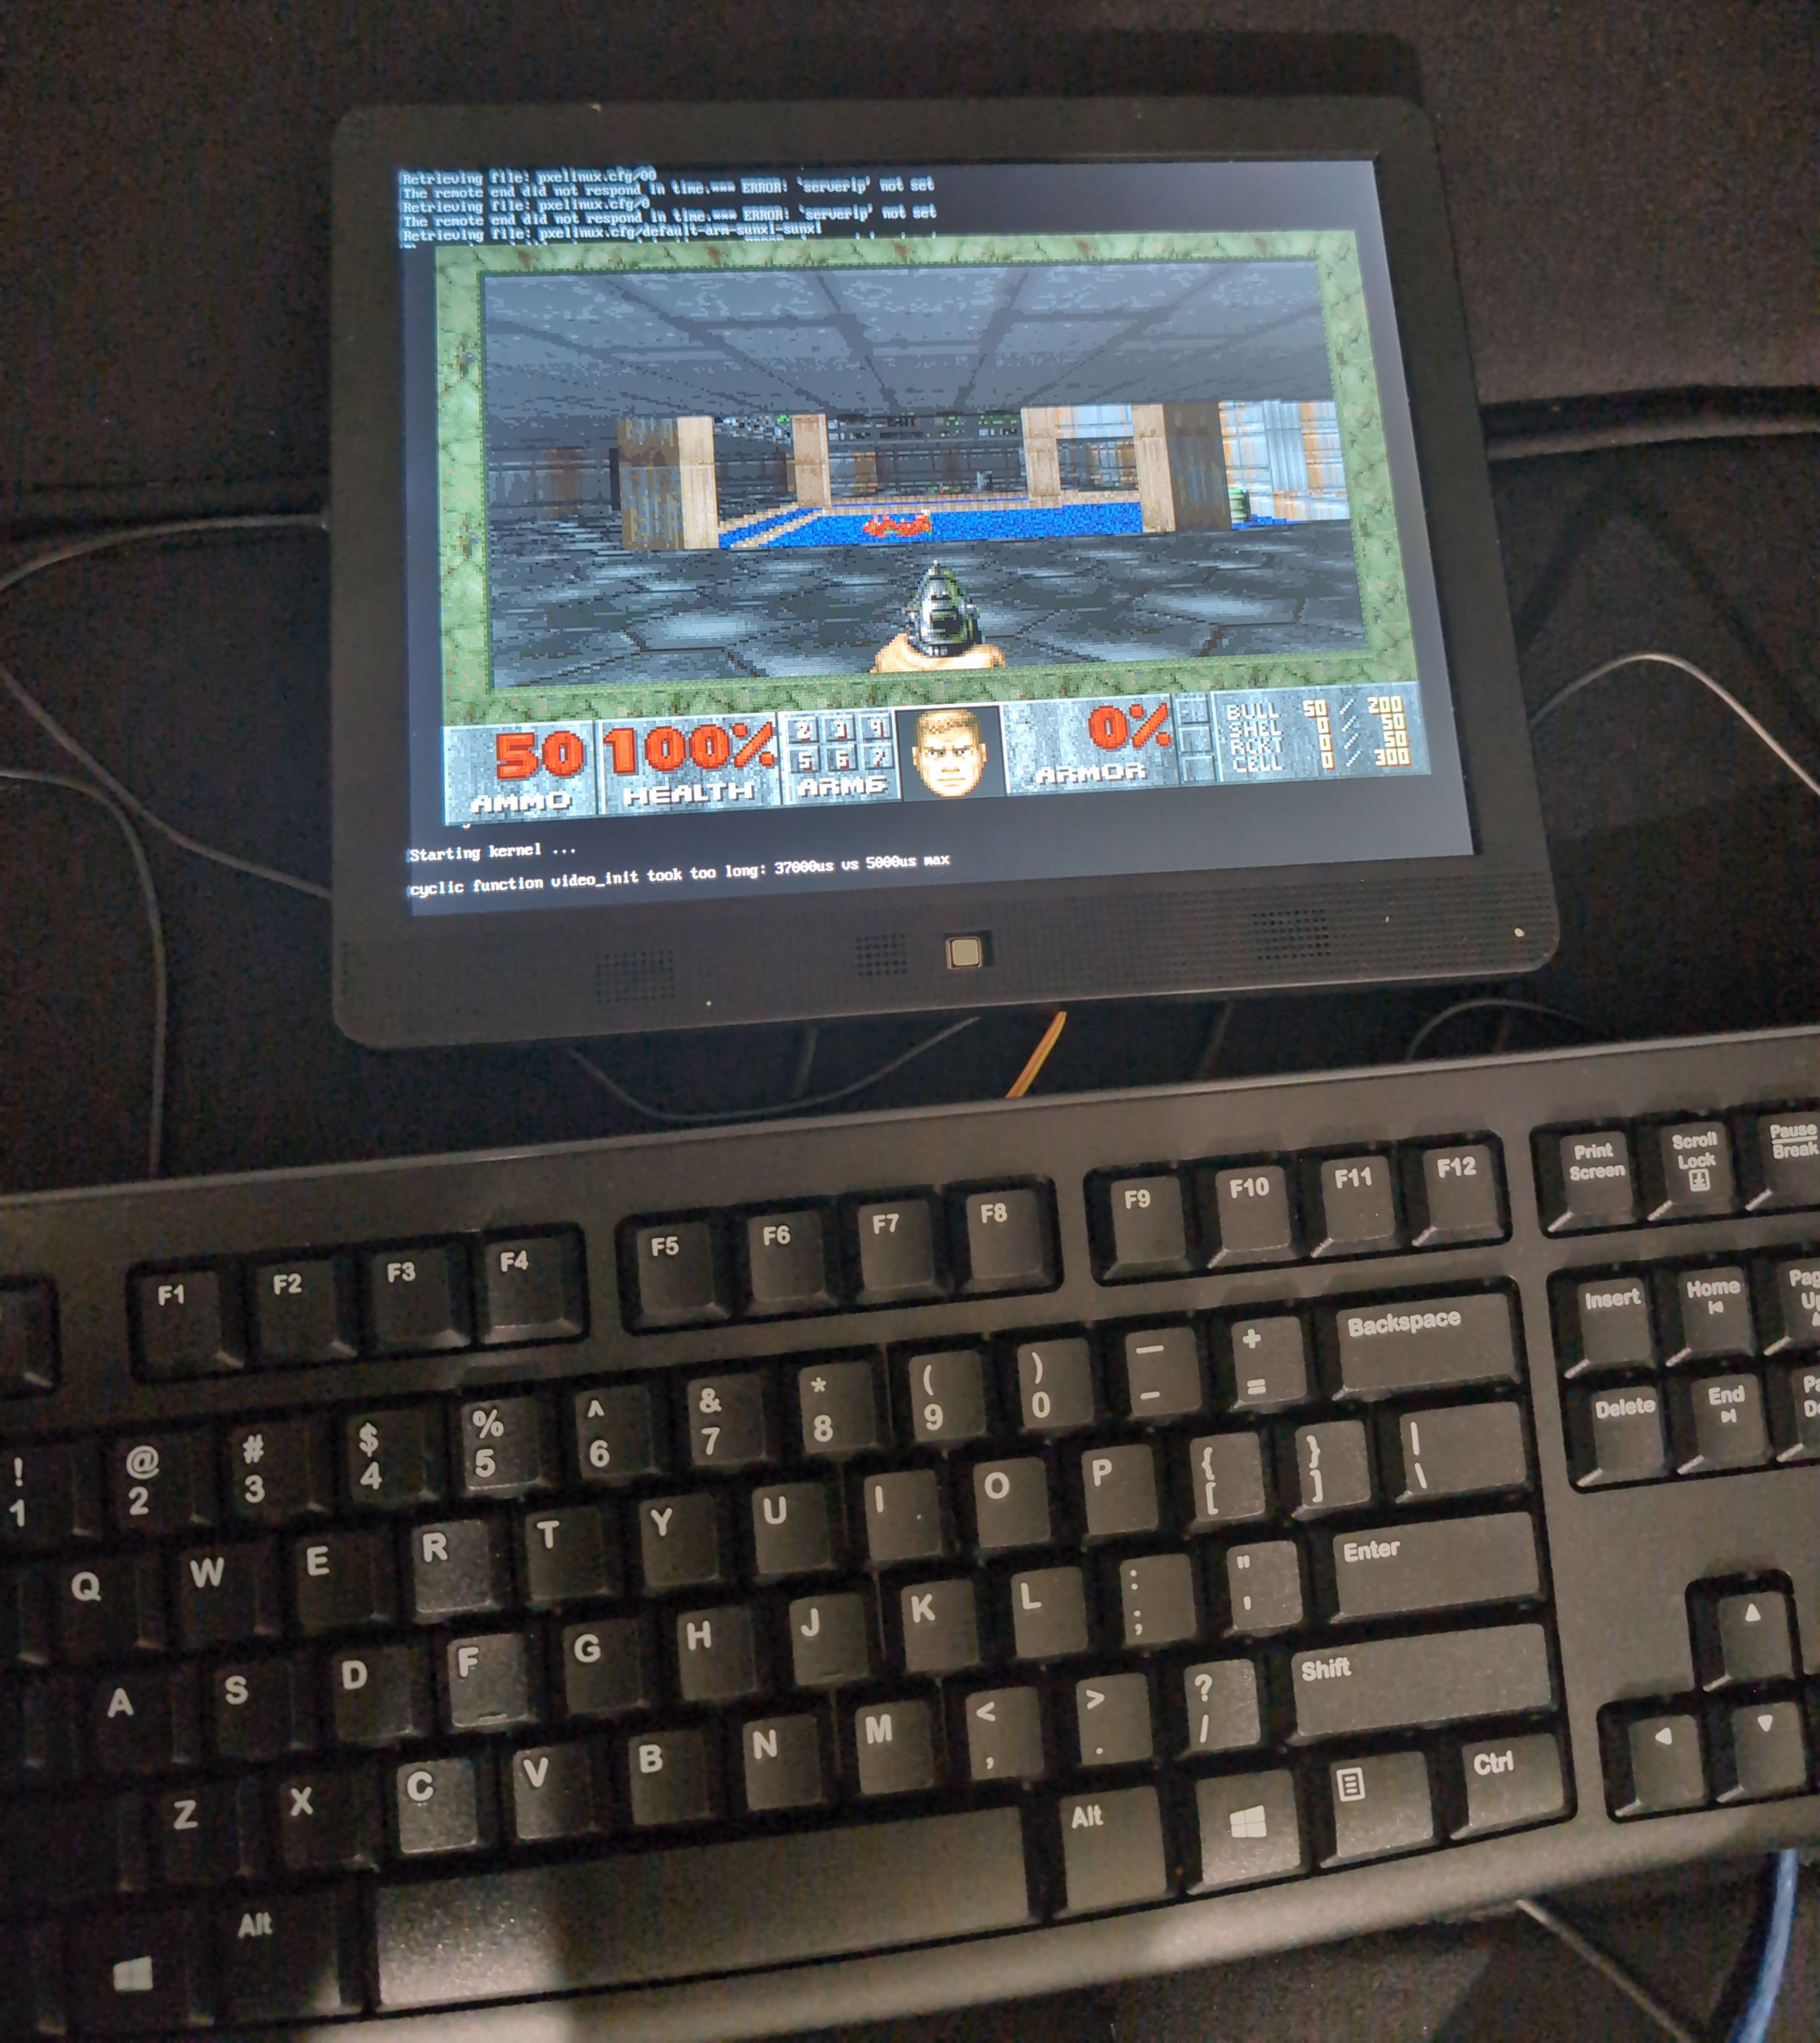
Hacking A Digital Picture Frame for Fun and Doom
Preface: I first started this project before I had the idea for this blog. Many of the photos were taken after the bulk of the project was complete. As a result, you may notice some battle scars on the board that don’t line up chronologically.
A while back I received one of these Pix-Star digital picture frames as a gift.

I immediately had the idea that it would be a fun hardware hacking project. I thought it would be hilarious to try and root the device and install Doom on it.
I stripped the picture frame down to the motherboard and immediately noticed a couple of things.
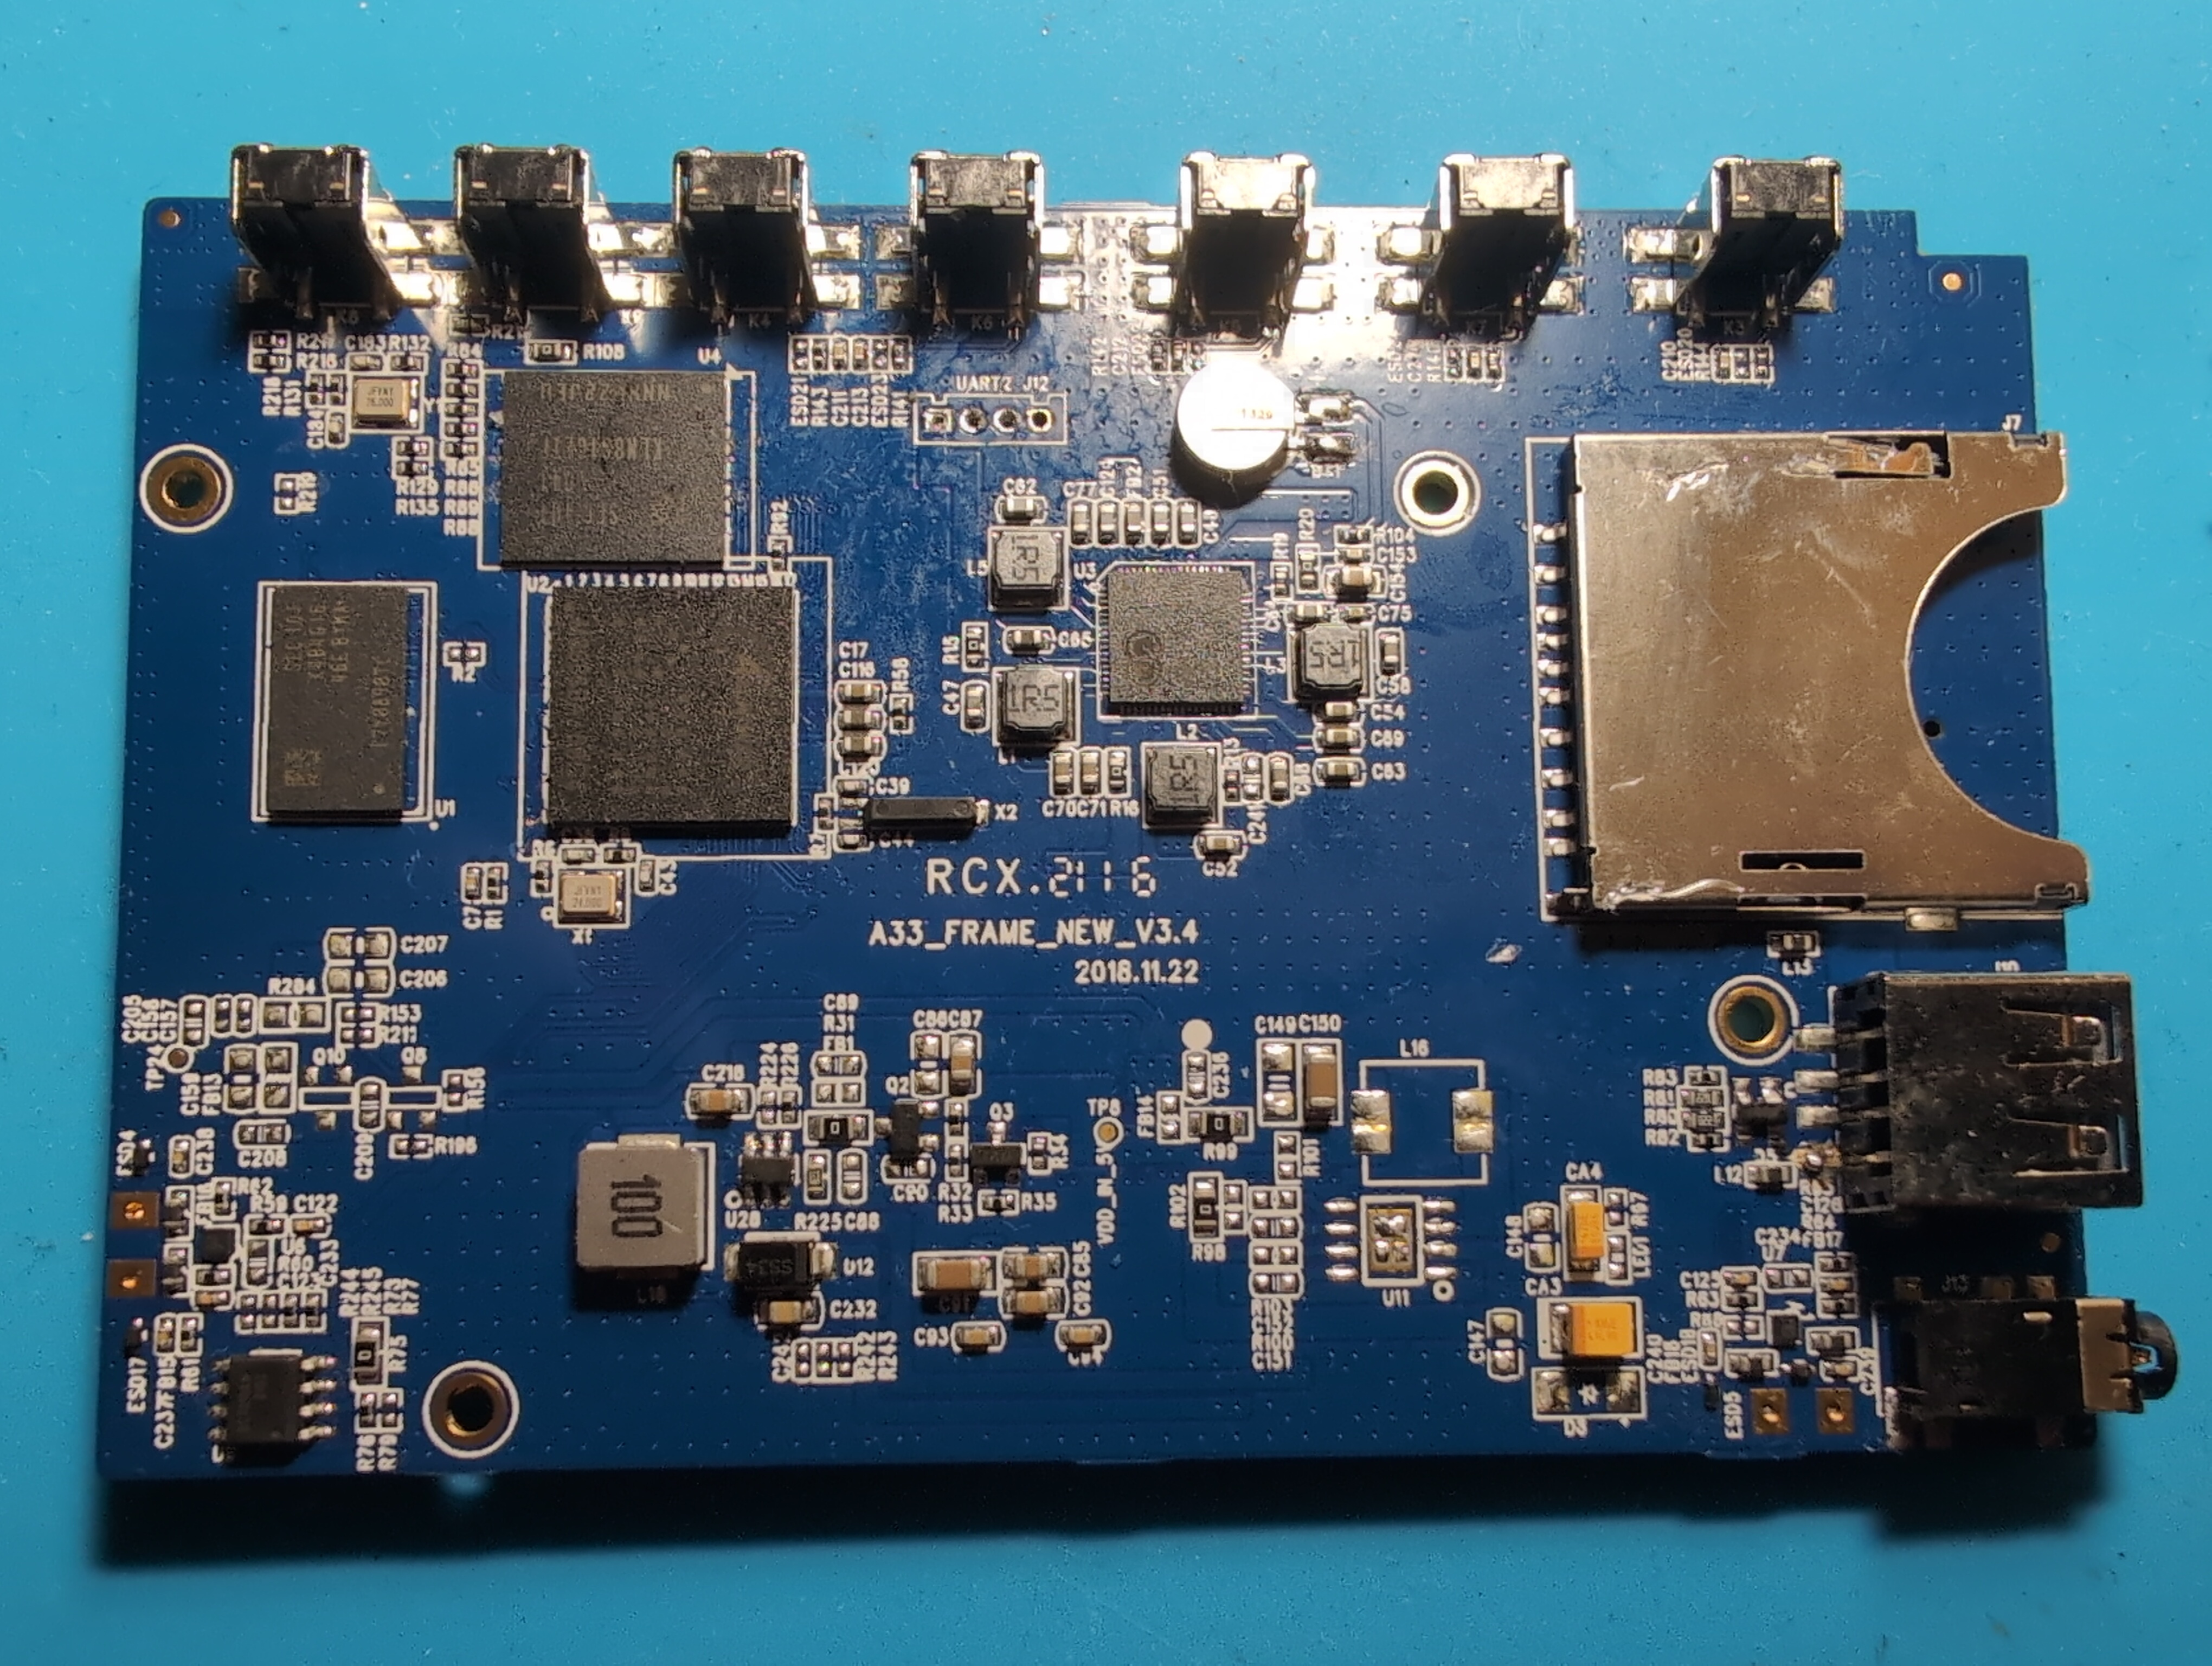
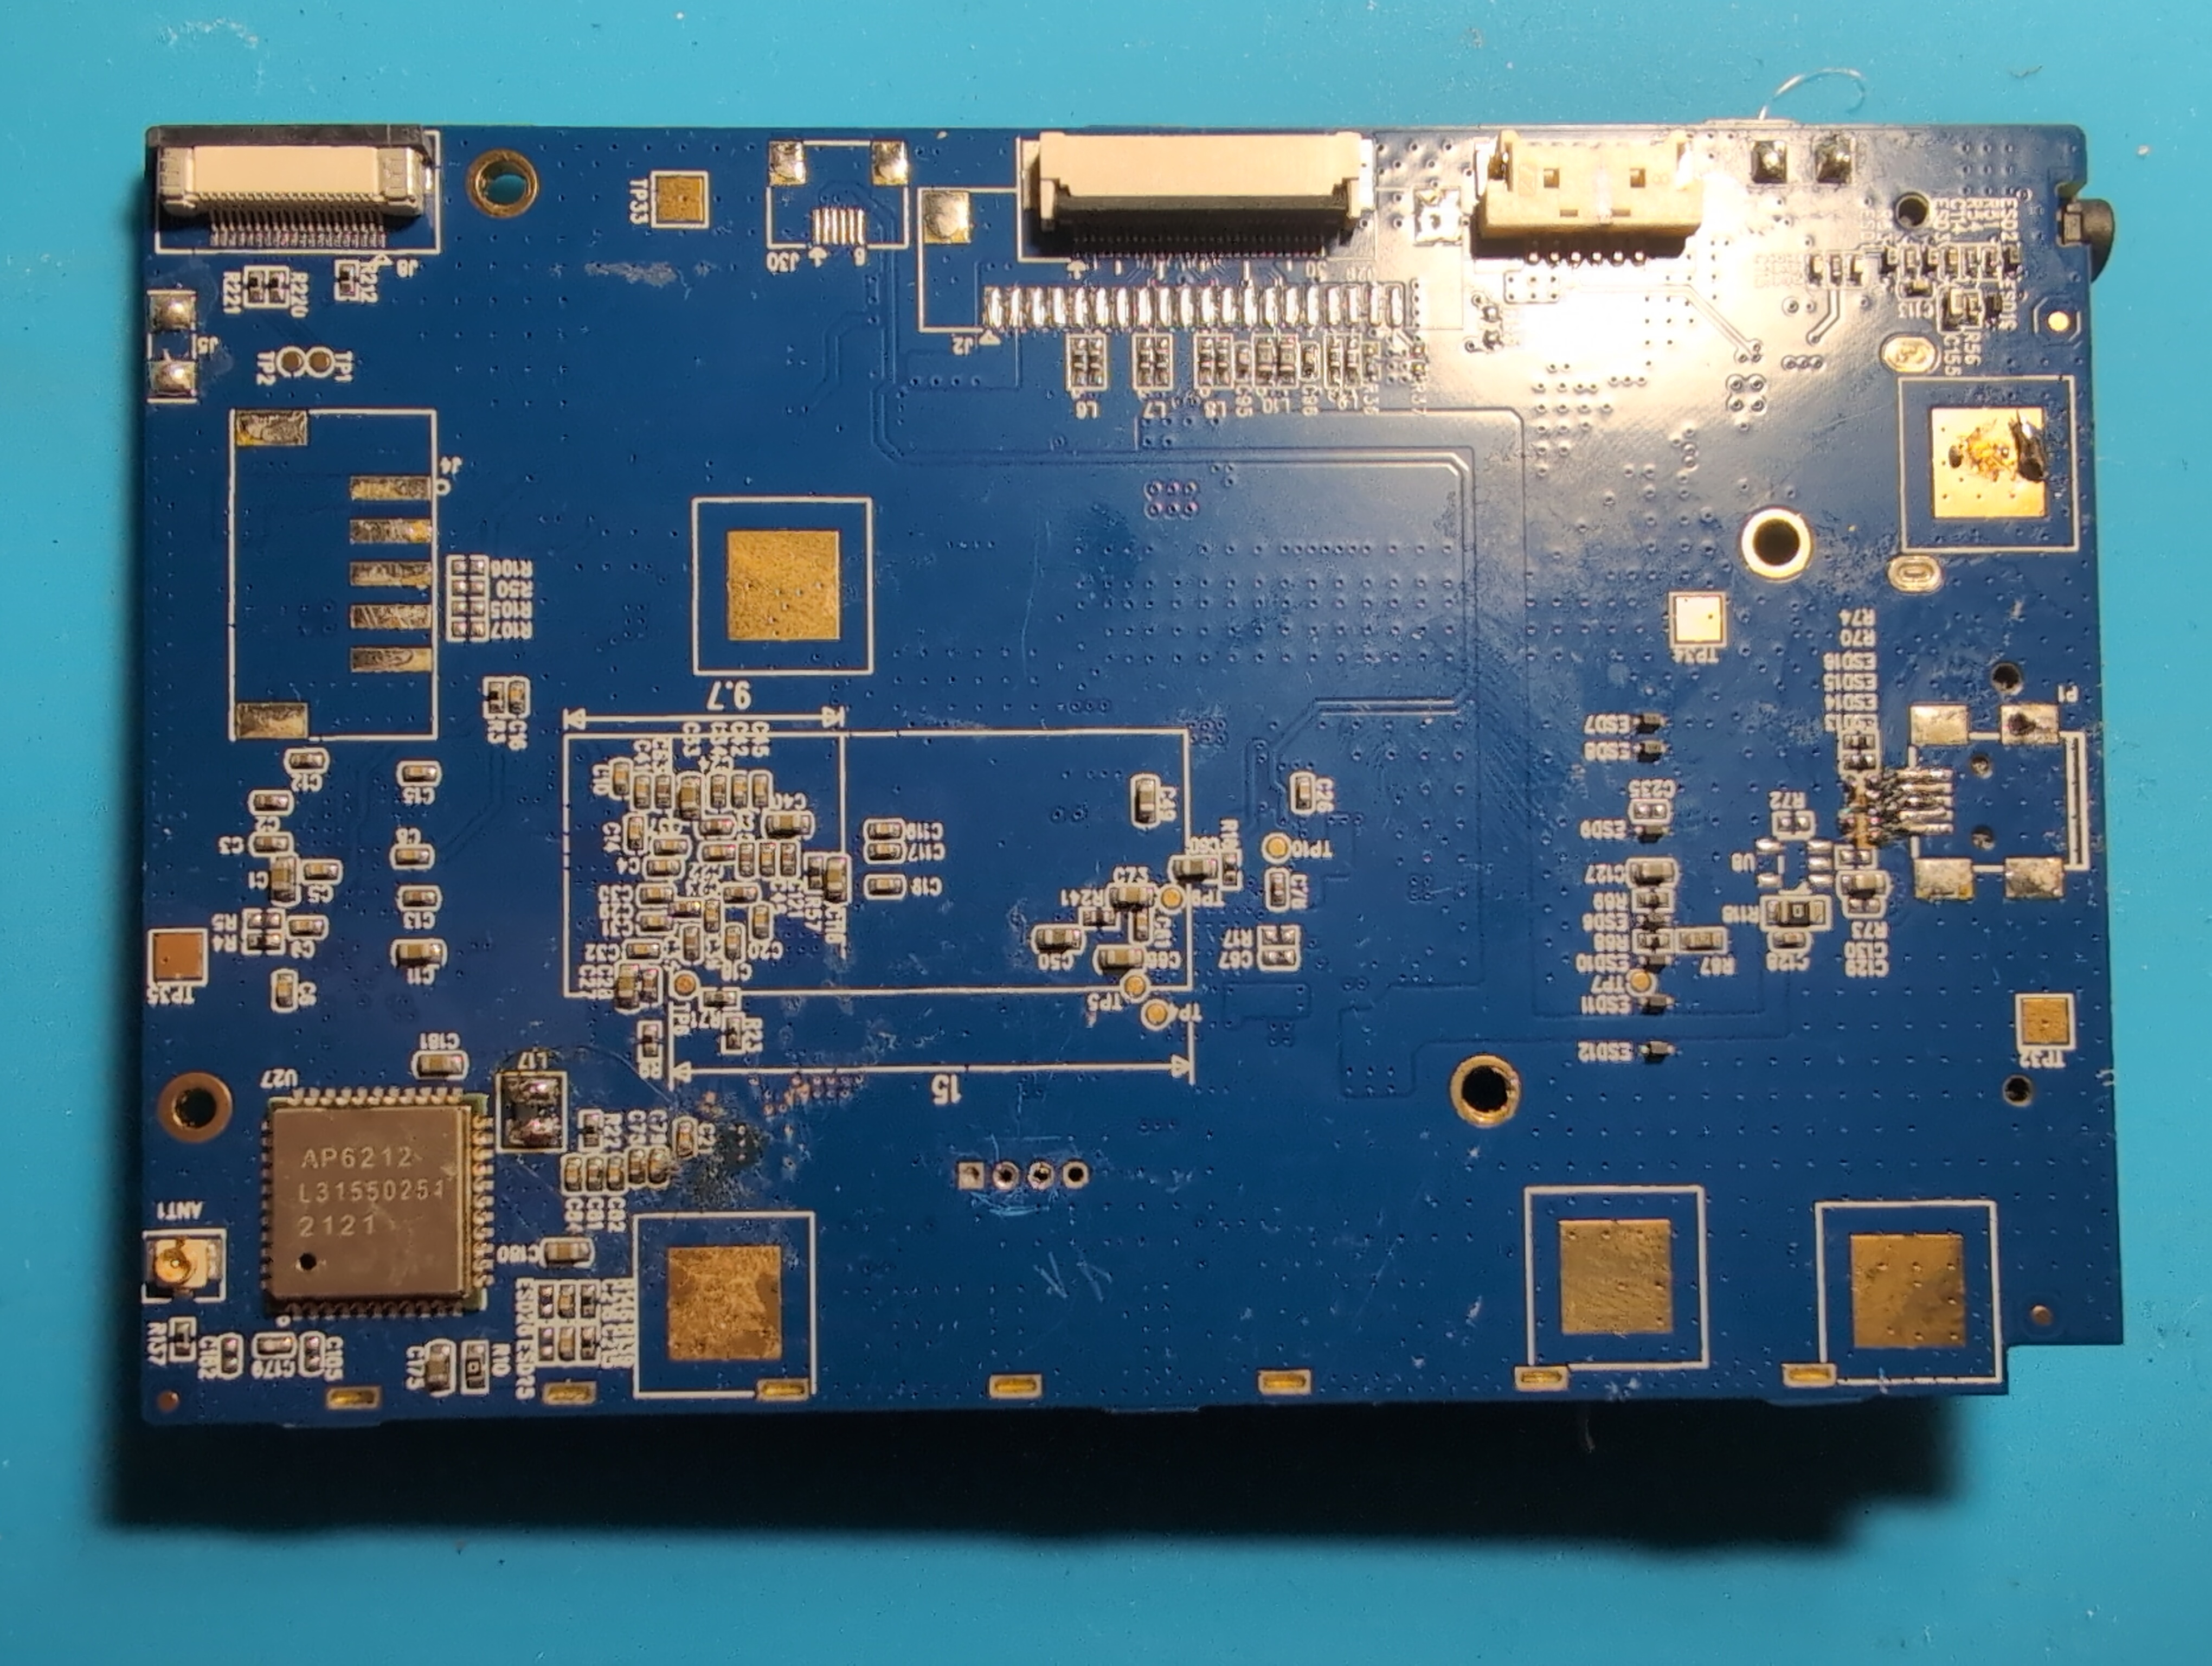
The first thing that jumped out at me was the nicely labeled UART pins. This was an excellent start! I also took note of the SoC, an Allwinner A33. I didn’t recognize the flash chip but a web search of the part number showed me that it was an 8GB Samsung eMMC. Because it’s BGA, I decided that a chip-off flash dump was off the table unless as an absolute last resort (Reballing eMMC chips is not my idea of fun). I also noted the 4GB Samsung DRAM. I grabbed the datasheets for the chips I recognized and proceeded to wire up my USB Serial adapter.
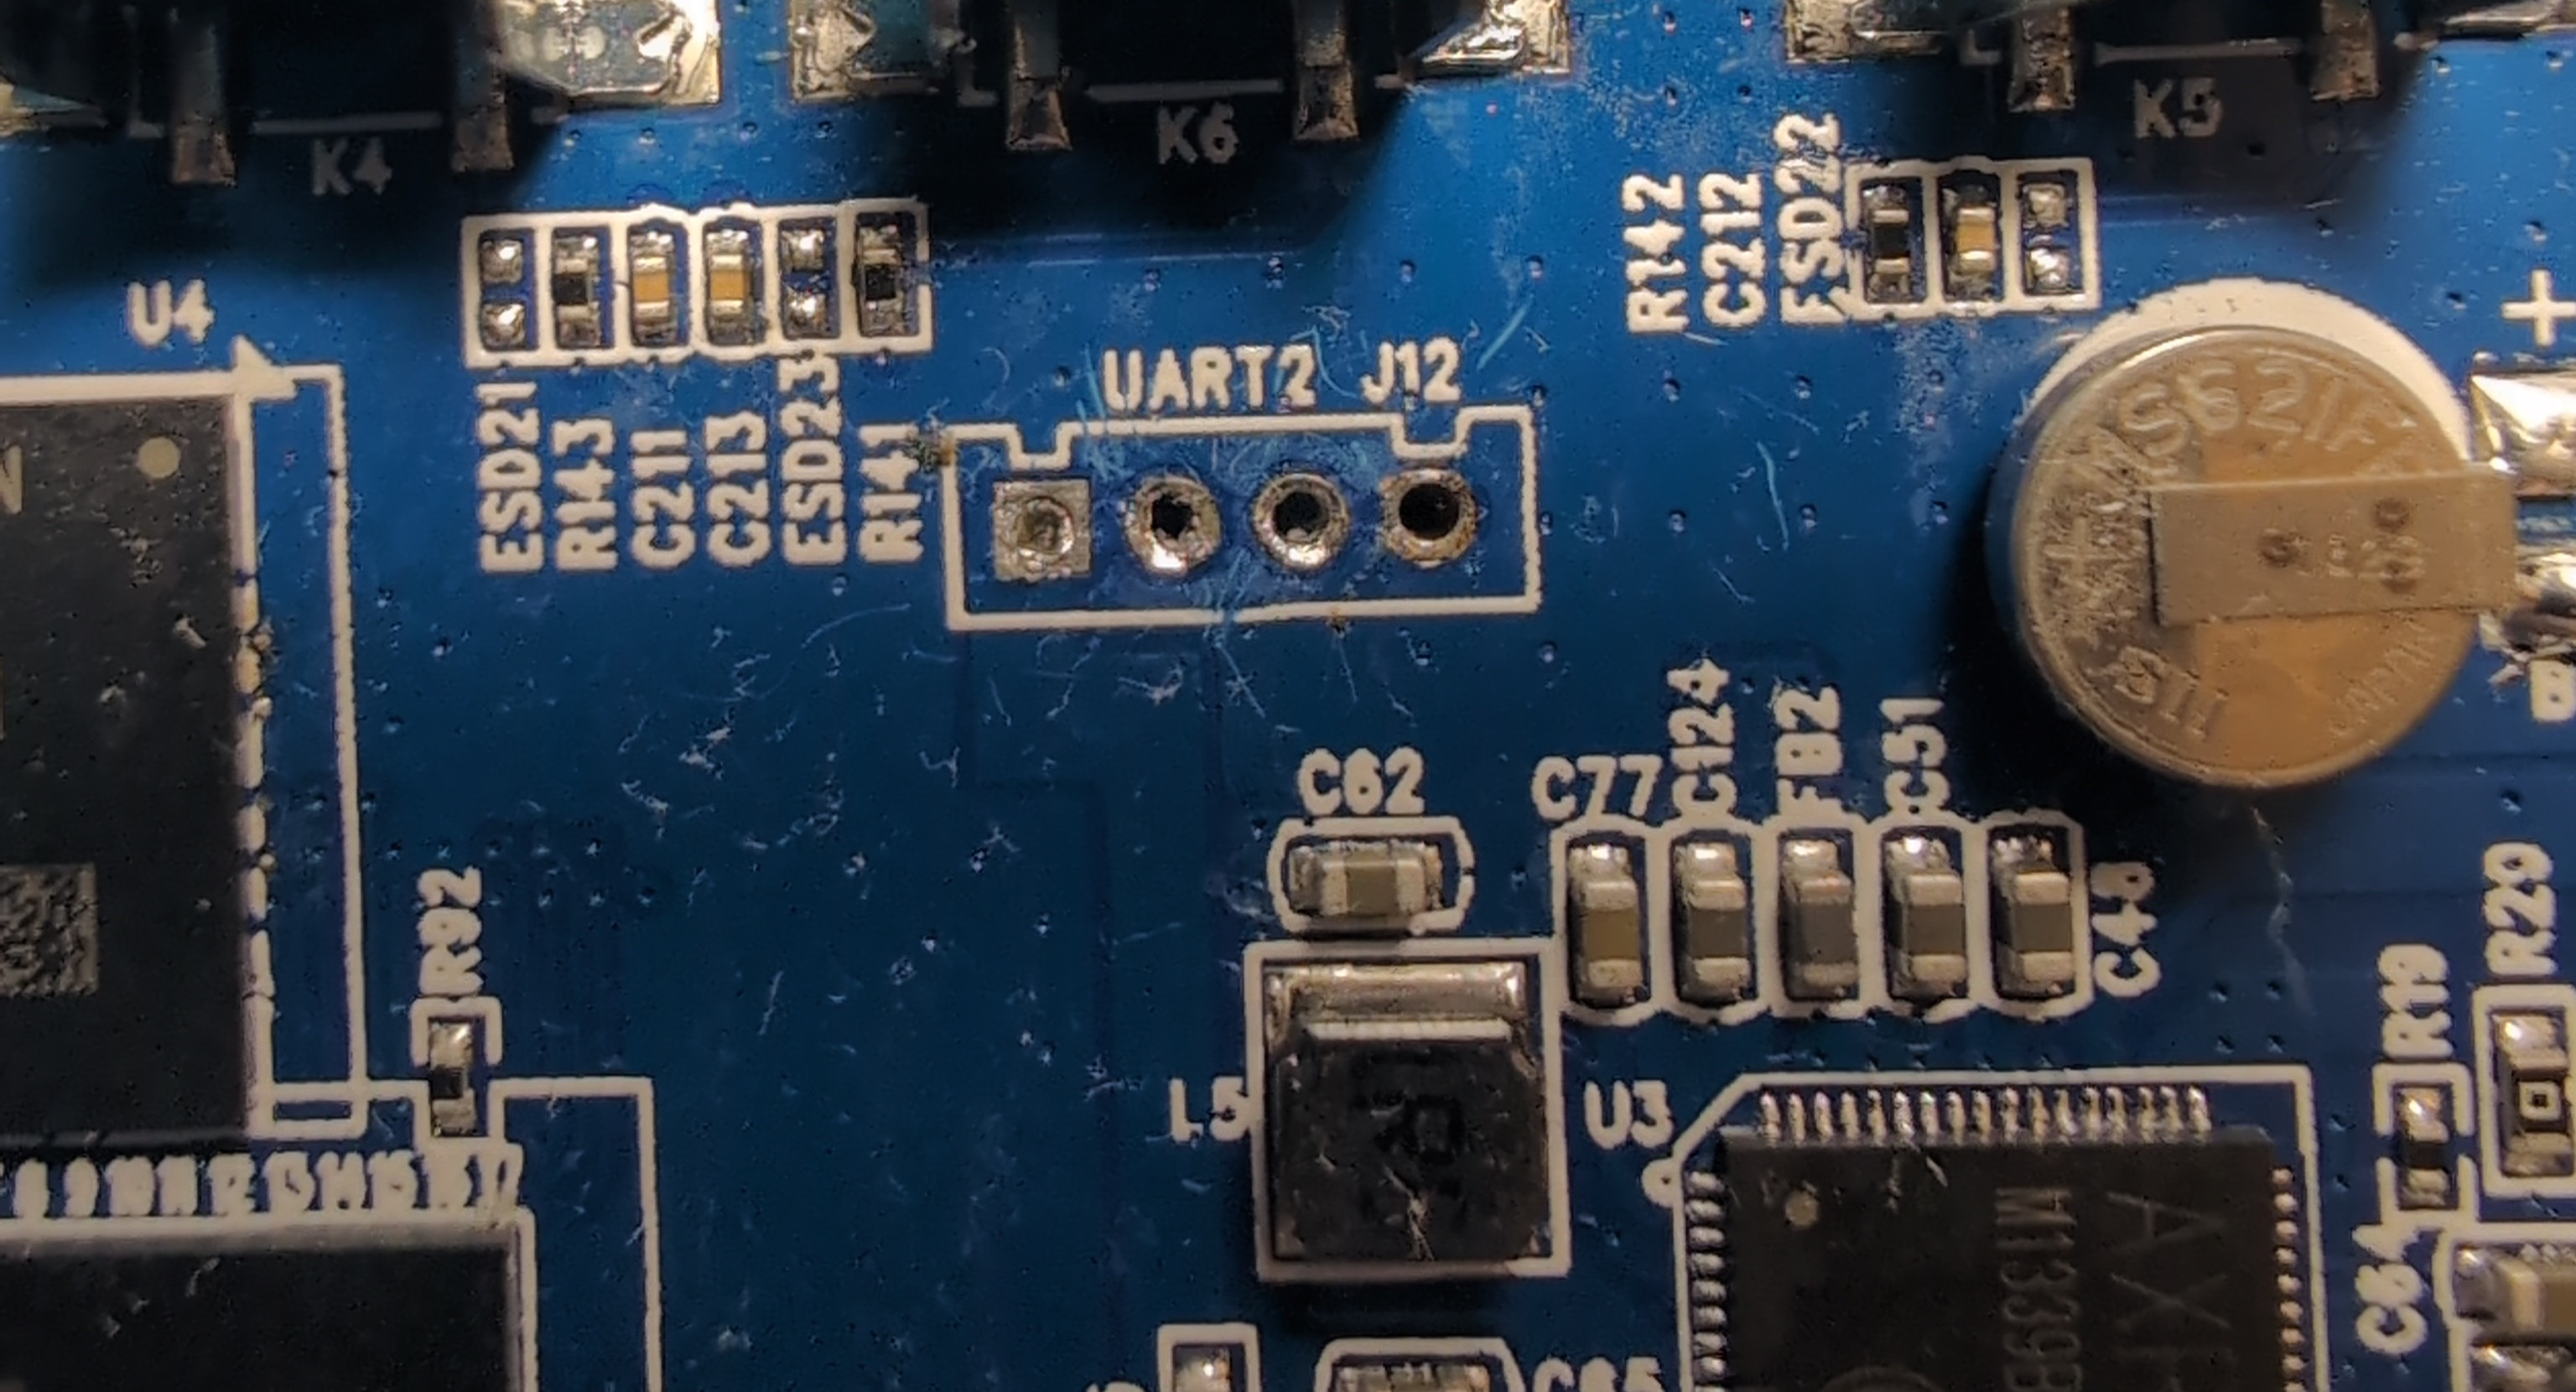
I powered the device on and waited for it to boot. I was happy to see my serial console fill with boot logs! Eventually I was dropped into a login prompt.

I tried some obvious default credentials (sometimes you just get lucky) but had no luck. So I rebooted the system and tried to see if I could interrupt the boot process with a keypress to get a debug menu. I found that doing so led me into a U-Boot shell. U-Boot is an open source bootloader for embedded systems. Because it’s so small and configurable, it’s pretty ubiquitous. Oftentimes this shell is disabled unless a fault occurs (no bootable media detected for example) so this was another great step towards getting root.
Because U-Boot is so configurable, I wanted to establish which commands were included in this build. I ran the help command to get a list.

Wow that’s a lot! I made a little bulleted list with ways I could use these commands to achieve my goals.
- The boot commands:
- The ability to boot an image might let me load an environment where I could modify the filesystem or take a flash dump
- Boota suggests the system might be Android?
- The MMC commands:
- These commands are used to interact with the flash chip
- The ability to interact directly with the filesystem could be useful if I could overwrite /etc/passwd to allow passwordless login
- I could potentially take a flash dump
- The
mw,nm,mmandmdfunctions:- These functions allow one to write to and read from memory
- I could use these functions to insert payloads into memory for execution with
go(a command that runs standalone programs) - I could use these functions to read files from memory that I’ve previously read into memory using the MMC commands from earlier
Approach 1 - Flash dump using md
My first approach was to try and load the file into memory with the mmc read command, and then dump it using a series of md commands. There’s an excellent python library for automating memory operations (among other things) using u-boot called depthcharge. It’s a great tool to have in your arsenal if you’re at all interested in hacking embedded systems. I set everything up and ran an mmc read command, unfortunately this is where my luck seemed to run out. The commands would run and report success but the memory would remain unmodified. I’m still not really sure why this happened. But I figured out that the sunxi_flash command has similar functionality and actually works. So I started by loading the flash into memory and then setting up depthcharge script to dump that section of memory.
Unfortunately these memory dumps are unbelievably slow. Dumping just the 512MB boot partition took roughly 48 hours. And when the dump finished I found that the output was extremely garbled and contained very little useful information. At this point I kind of got tunnel vision and spent way too much time trying to dump the flash using this method. I tried changing the location in memory that the partition reads into. I tried shortening the UART leads to avoid interference. I tried various depthcharge tweaks to use different methods for dumping the RAM. But I eventually gave up on this method and put the project away for a while.
Approach 2 - Looking for direct connections to the eMMC chip
My friend gave me his old Analog Discovery 2. I thought I might be able to find points on the board that directly connect to the eMMC chip. I poked around and checked test points and exposed pads but didn’t find anything that looked like eMMC. Around this time I got my hands on a binocular microscope, which let me solder to much smaller points than I could before. I got into the weeds a bit and started scraping solder mask off of vias and poking them with pizzabite probes.
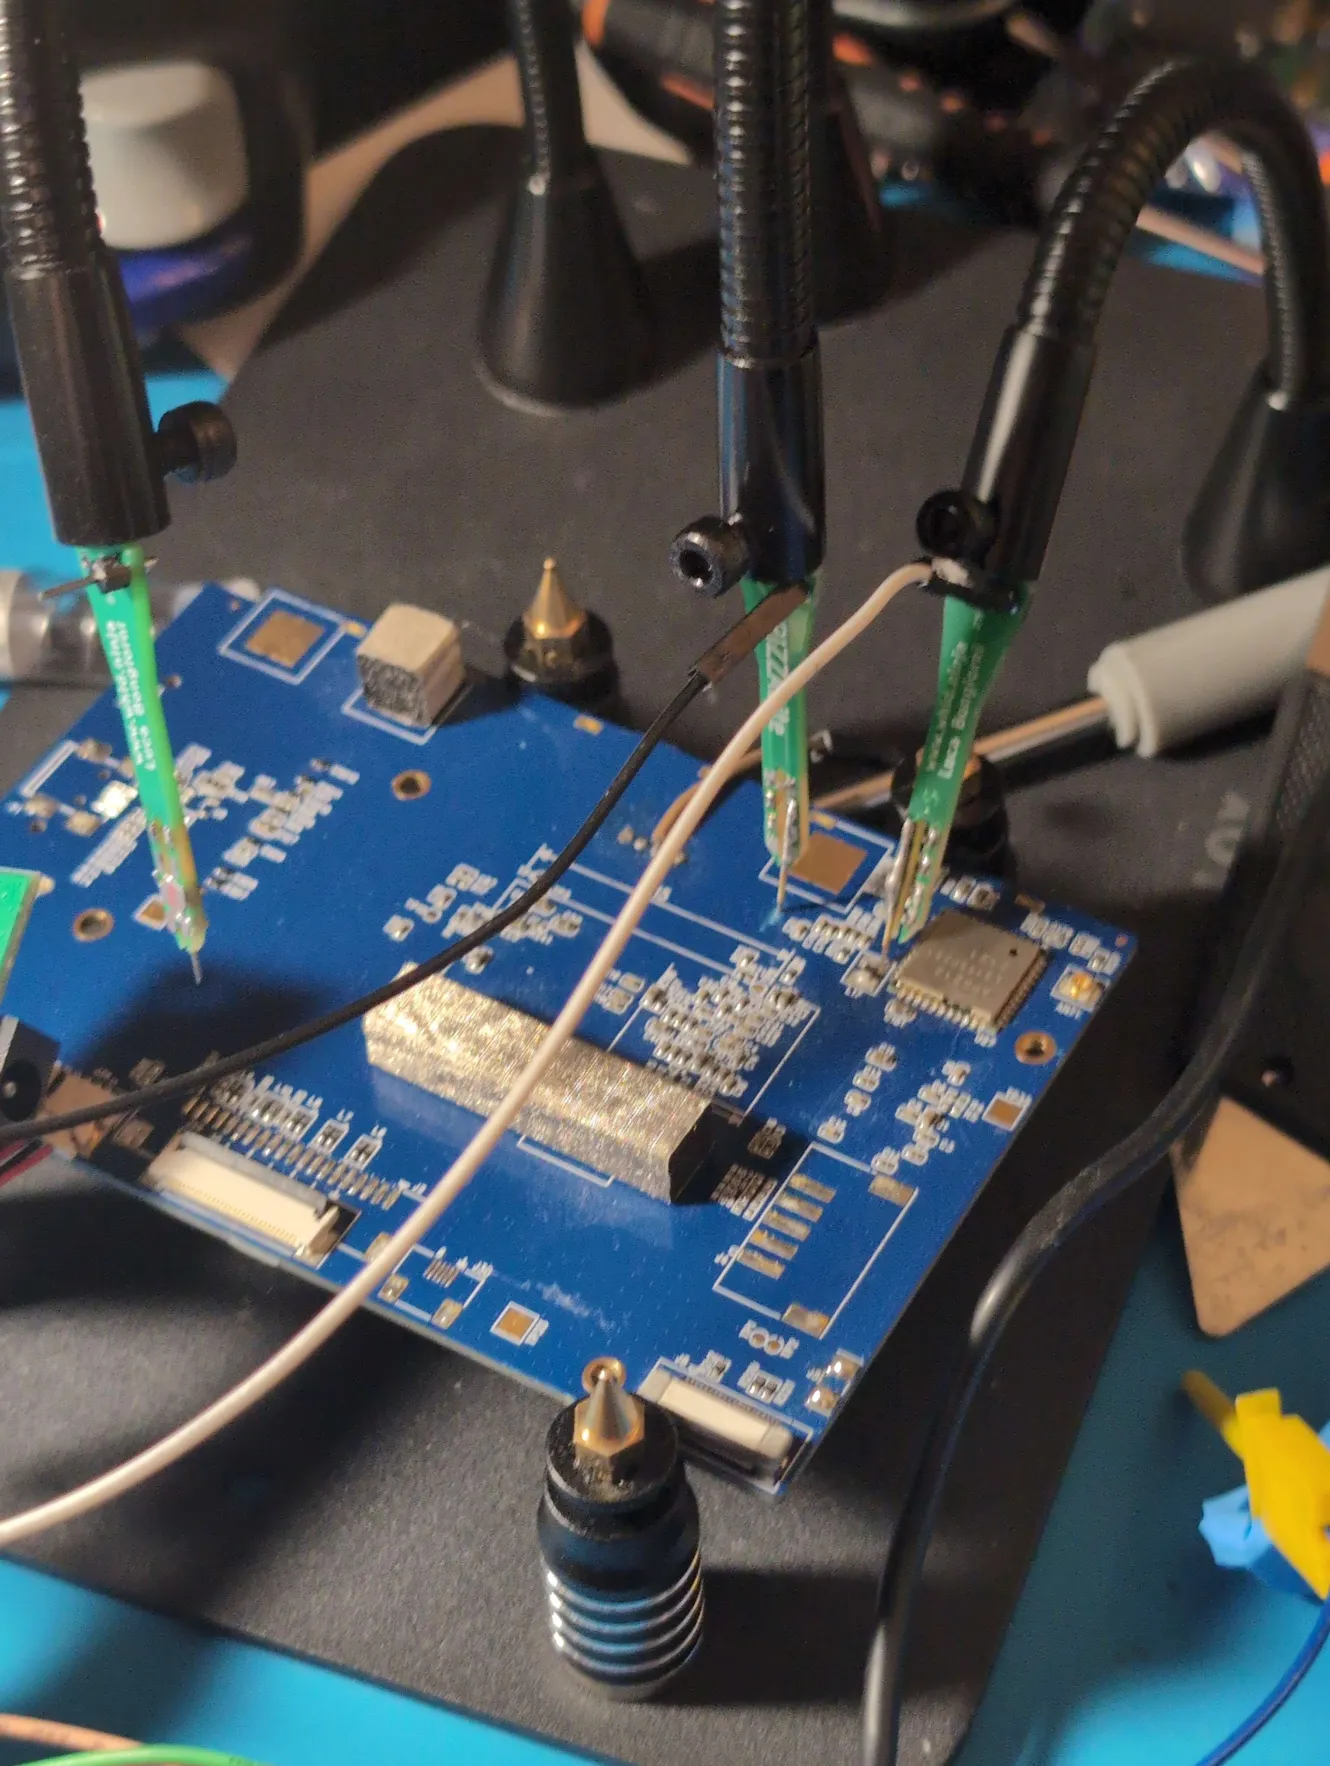
I also tried soldering enamel wires directly
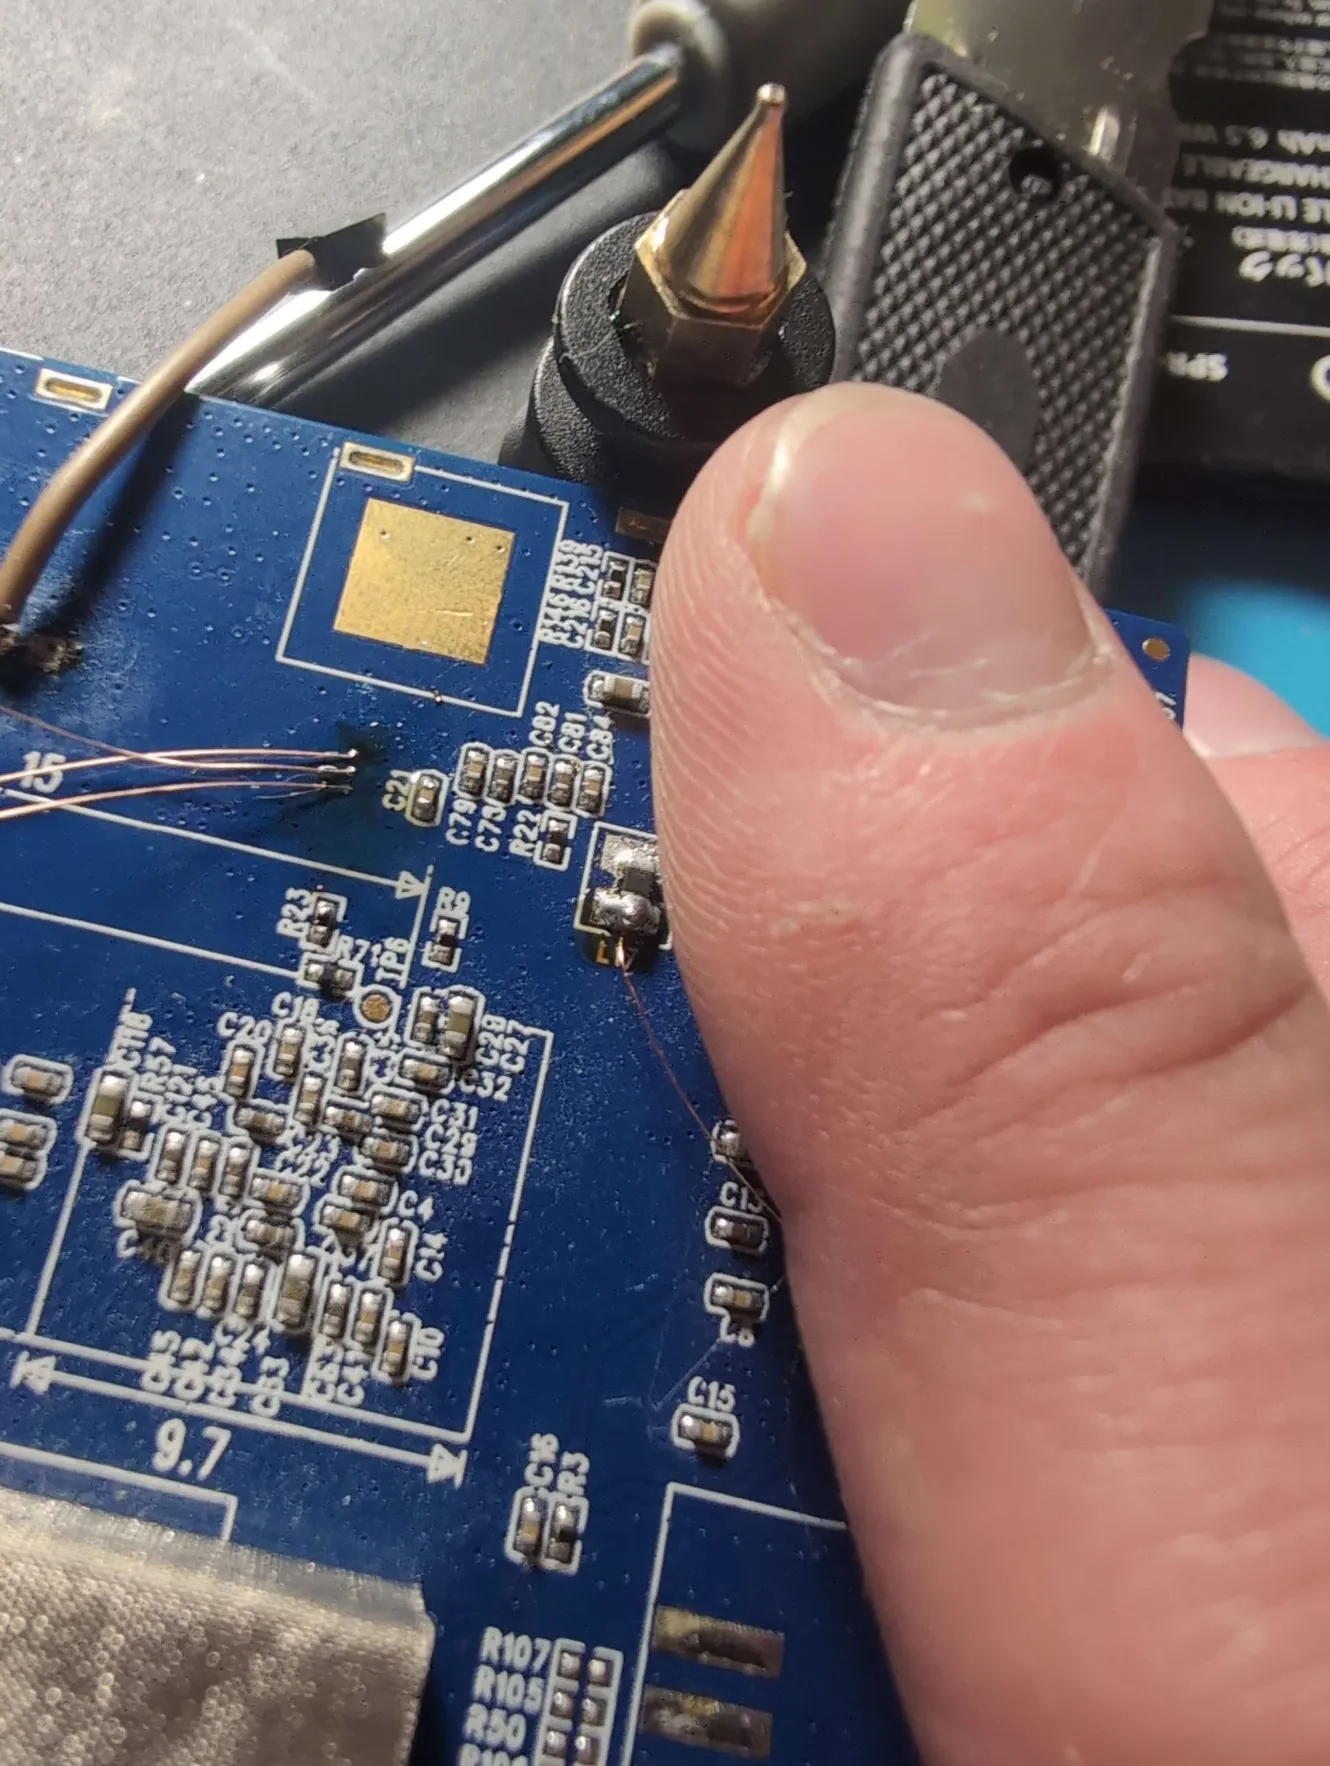
There are quite a few vias on this board. After a while the tedium of this approach made me give up.
Approach 3 - Sunxi FEL
Allwinner processors have a special mode called FEL which is used for programming and recovery. It works over USB. When messing around in u-boot, I found the efex command puts the device in FEL mode. This is great, but the device seems to have no USB port. There’s the one usb host, but I determined that this is connected to the second USB line on the A33 and as such was not used for FEL. I tried probing around the board with the logic analyzer but USB doesn’t produce a signal when no devices are attached, so I had little luck. I was looking at the datasheet for the A33 and I noticed that all the balls for USB are in the corner.

The chip is also high enough that the solder balls are somewhat exposed

I took the plastic off a test clip and slid the flat contact under the chip to touch the USB-DP0 pin. I hooked the disassembled clip up to my multimeter and tested a bunch of points on the board. Eventually I got a beep on one of the unpopulated connectors on the end. I checked the other lines and found ground and VCC using my multimeter. I bought a pack of micro usb break out boards and ran some thin wire from each data line on the connector to the USB port. I connected the VCC and ground to larger pads elsewhere on the board so I could power the entire board from USB.

I connected everything to my laptop, put the board in FEL mode and…

Success! I then compiled a new, more permissive U-Boot image with ext4 filesystem and SD card support. I booted this image using the sunxi-fel command line utility and then checked that everything worked using the UART console.

I then ran the mmc list command and was happy to see both the eMMC chip and a SD card I had inserted available. I ran the ext4ls command and after trying a few different partition numbers, got a file listing for the rootfs.
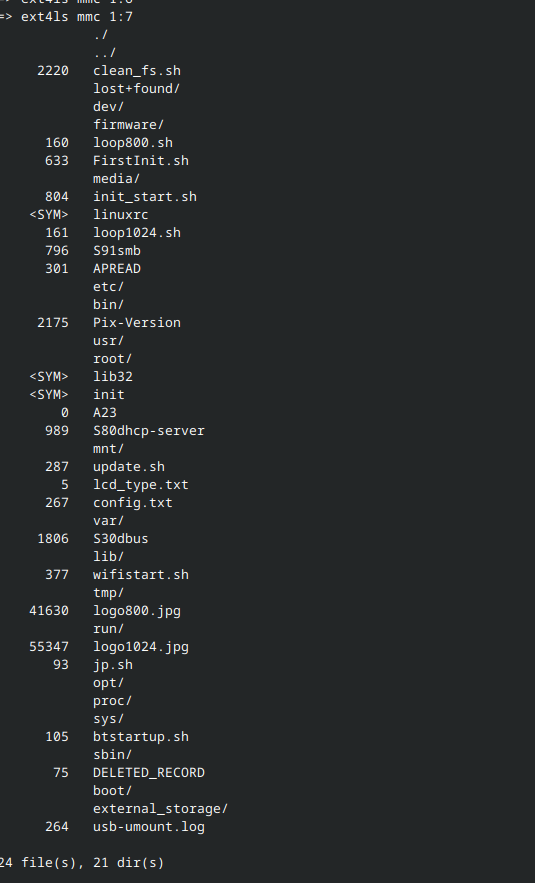
Great stuff. I then used the ext4load command to load the /etc/passwd into memory. I then wrote the passwd file from memory to my sdcard using the ext4write command. I powered off the system and transferred the sd card to my laptop. I modified the passwd file to allow passwordless login and then transferred the sd card back to the board. Finally, I reversed the process, using ext4read on the sd card and ext4write on the eMMC. I rebooted the system and attempted to log in to the root account with no password.

Success! I had achieved root on the picture frame.
Building a new firmware image and running Doom
After acquiring root, the next step was to get Doom running. My original plan was to simply cross compile fbDOOM for the original picture frame firmware and point it at the framebuffer. I ended up having trouble getting everything to work with the archaic build of linux they were using so I built a completely new system image. I built a kernel targeting the system and built a rootfs using buildroot. For the device tree, I mostly copied the tree for the Sinlinx Sin-A33 devboard which has extremely similar hardware to the picture frame’s motherboard (I suspect the engineers used this devboard for prototyping). I made some slight changes to the node for the voltage regulator for the display (I was having issues with the display powering off). I ended up having to slightly modify the custom u-boot image to initialize the display as well. After booting into the system I tried booting a graphical environment and running chocolate-doom (a minimalist source port) and it worked pretty well, but I couldn’t get input to work properly. In the end I compiled fbDOOM as originally planned, but used the buildroot compiler and targeted my new custom firmware. Everything worked great! I was able to hook up a USB keyboard to the usb host port and play through the first few levels.
