A Series of Tubes (no not that one)
Recently, I’ve been working on a project involving vacuum fluorescent display tubes. I don’t want to spoil that project yet (I plan on doing a detailed write up later) but I wanted to share a bit about some of the experimentation I’ve done in getting these tubes to work. I also bought a Geiger-Muller tube which I set up with a really fun kit from this guy. I’ll write a bit about that too, but you should really check out his page if you’re interested.
IV-18 VFDS
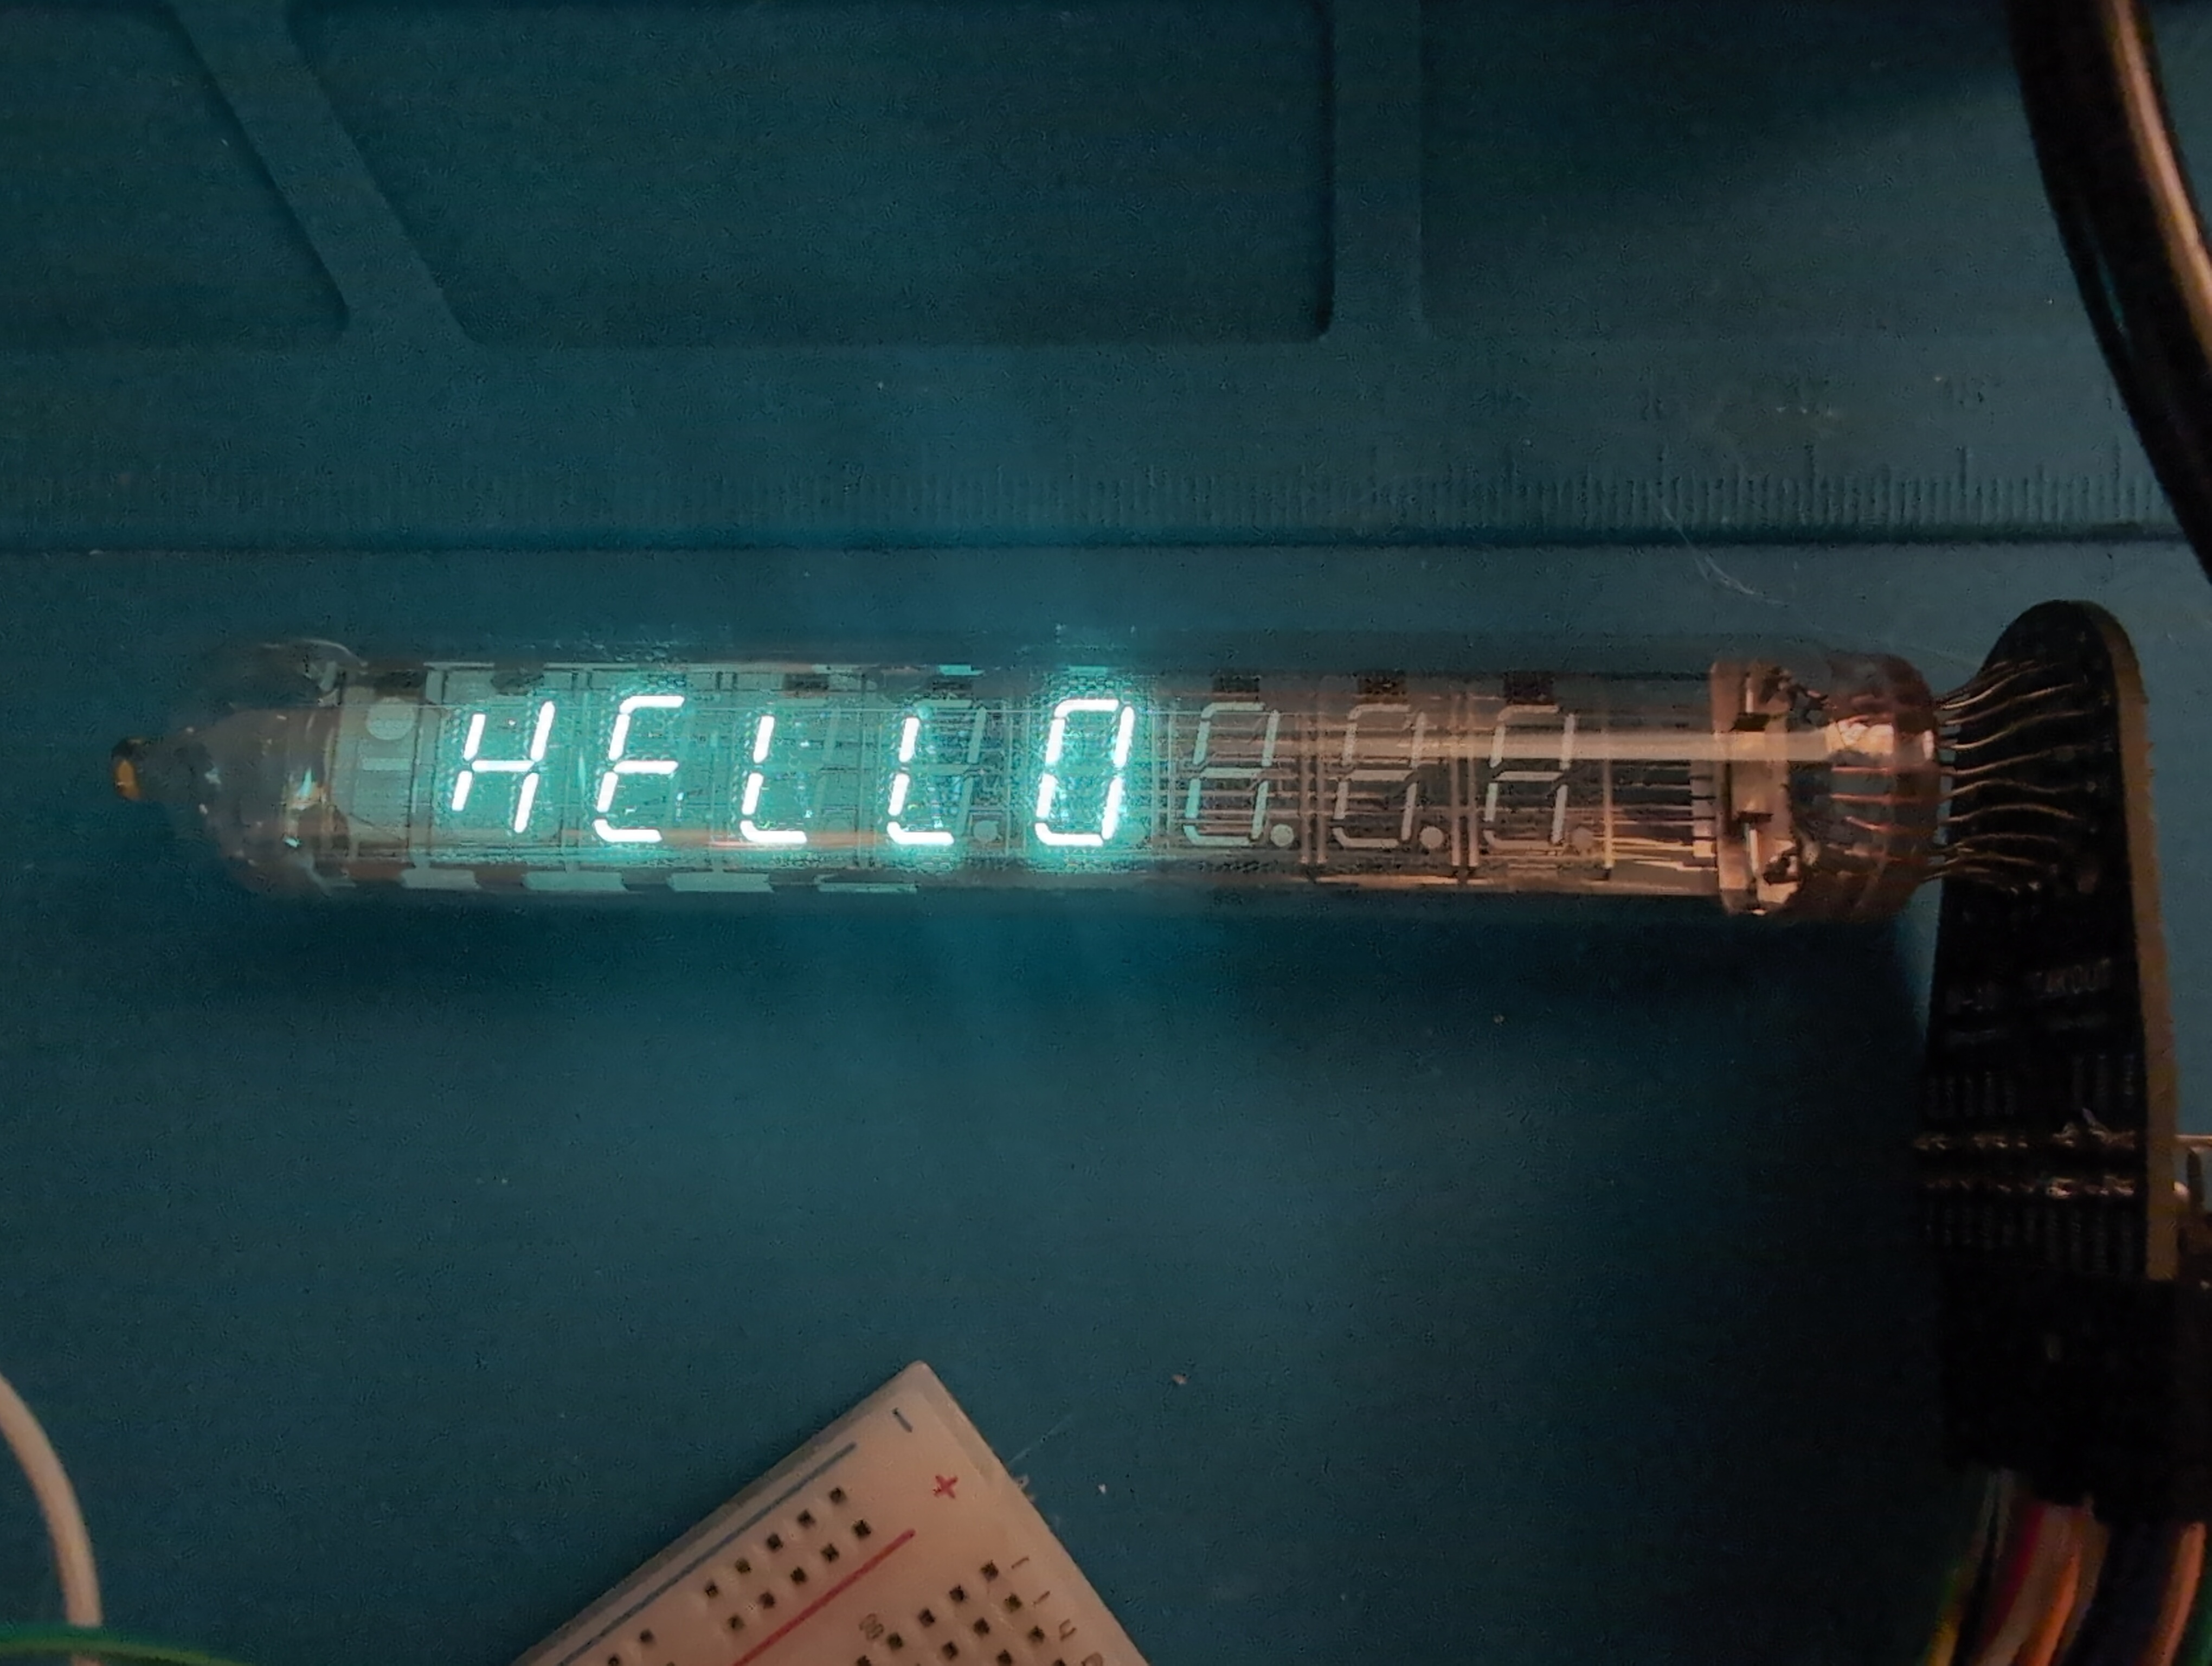
Most of my tubes are Soviet made IV-18 segmented vacuum fluorescent display tubes. When people think of Soviet numerical display tubes, they often think nixie. These are, in my opinion, way cooler (and cheaper too!). They emit a really nice blue-green glow and are way easier to drive (These only need ~50v instead of the 140-170, and some run even lower).

Driving the VFDs
Vacuum fluorescent display tubes, unlike nixie tubes, are hot cathode. The cathode is a small tungsten filament, and a low voltage is applied across it to heat it directly. I’m not aware of any indirectly heated VFD tubes, but I suppose it is possible that they exist. In that case the heater filament would be separate from the cathode. These tubes have one or more control grids. When a higher voltage is applied between the grid and cathode as well as from segment anode to cathode, those segments fluoresce. VFDs are often compared to triodes. I drew a diagram to show the similarities.

IV-18s are multiplexed. There is one control grid for each of the eight digits, plus one extra overflow digit with a minus sign and a dot. Each digit is lit in rapid succession, creating a cohesive image using persistence of vision. Unfortunately this makes these displays tricky to film due to the rolling shutter effect.
For my experiments and projects I chose to use the max6921 VFD driver. This chip is basically 3 shift registers and a 76 volt tolerant level shifter. These chips are kind of expensive ($15 or so a piece) so I initially tried using discrete shift registers with a bank of optocouplers for level shifting. This pretty quickly became very unwieldy so I sourced some chips.
Snake Game
I was playing around with making animations for the display and my friend noticed one of them kind of looked like the classic game snake. He jokingly suggested I write a port using the display. I thought about it for a bit and spent a few hours writing a port. You can find the source code on my github. It’s definitely not perfect (the display code causes the refresh rate to decrease slightly as more segments are added) but it’s playable! It was a little more complex than I expected. I represented the board as an array, but I had to account for the non-grid structure of the display. To do this, I stored each grid square as a struct. The struct would (among other things) indicate if it was a non-display square, and cause the snake to seek forward a second time if encountered. I’ve included a video below. I cranked the exposure to try and ameliorate the rolling shutter effect but that’s also caused the picture to be a bit washed out.

SBT-10a GM Tube
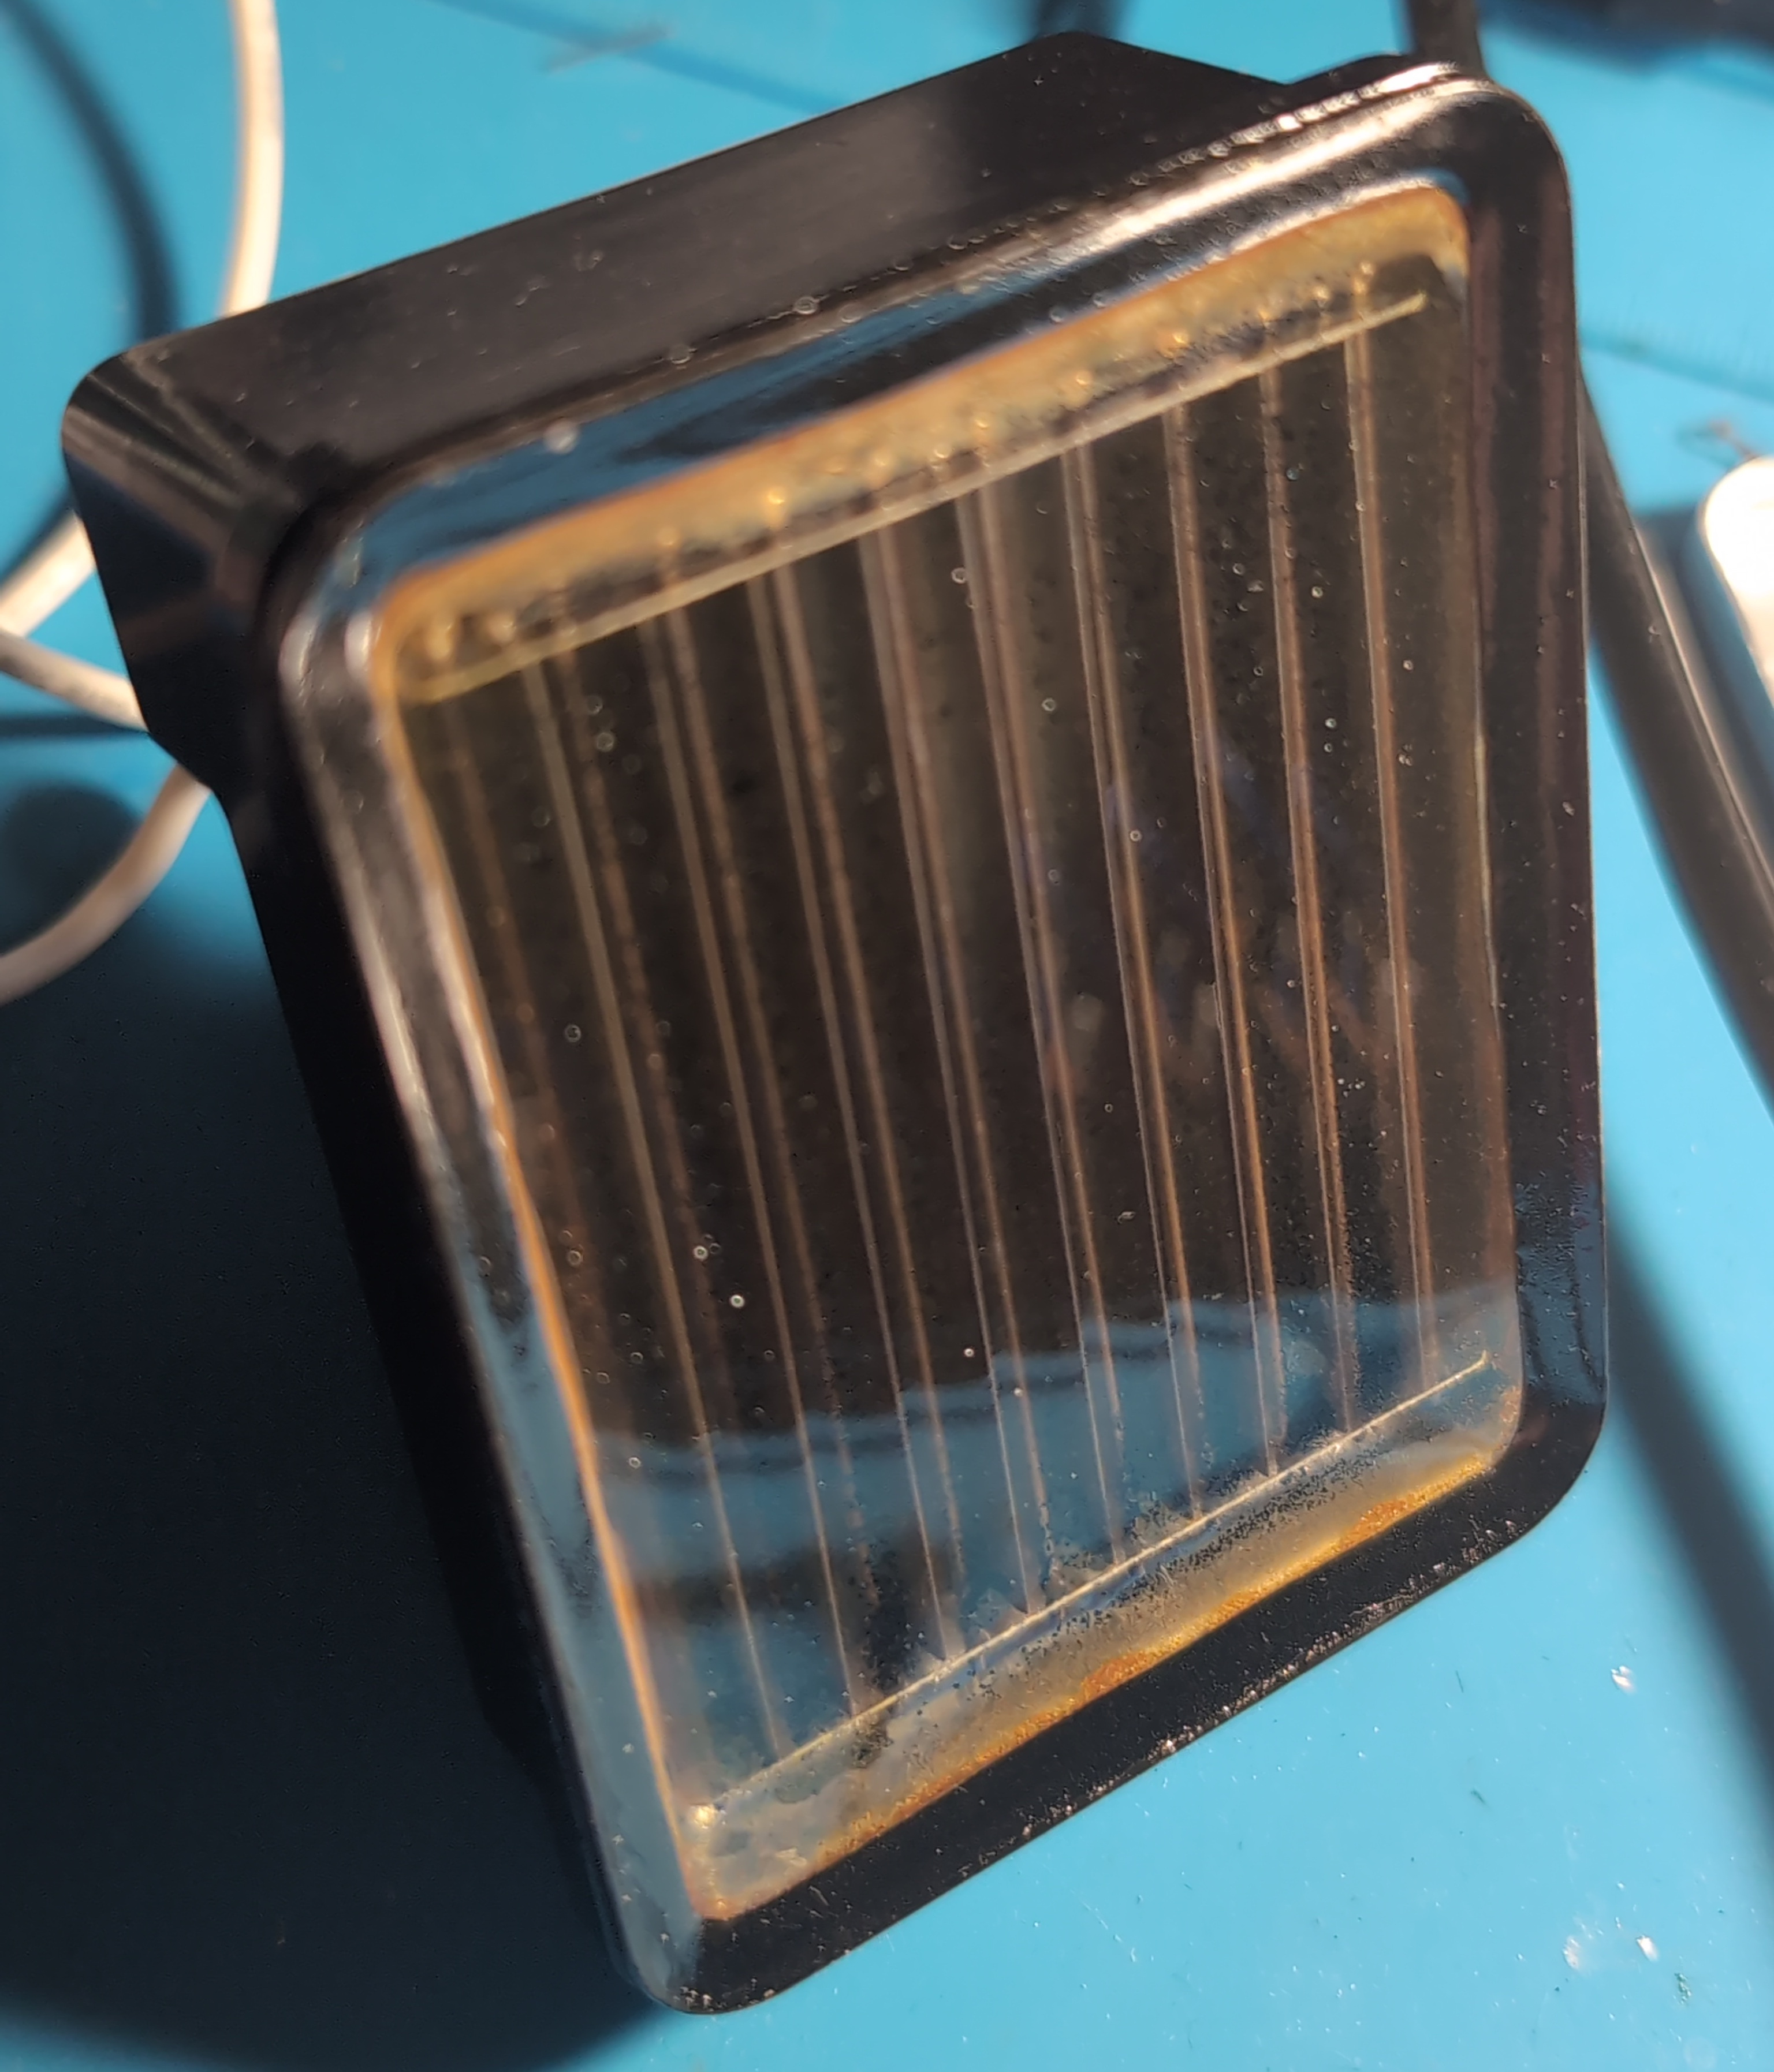
This isn’t really related to the project I’m working on, but it’s pretty cool and I wanted to talk about it. This is a Soviet made vacuum tube used for detecting various forms of ionizing radiation. This tube is sensitive to not only beta and gamma but also alpha radiation! It accomplishes this by using a thin mica window which holds a vacuum without blocking alpha particles. These are super expensive now, but when I bought it they were fairly cheap. I’m not entirely sure what triggered the price hike, but I’m glad I secured mine early. This style of tube is called a pancake tube.

The operation of these tubes are extremely simple. A very high voltage is applied across the tube. When a particle enters the tube, electricity flows across the tube very briefly. The simplest Geiger-Muller counter (everyone always forgets about Muller!) is a GM tube, a high voltage supply and a speaker. Each time a particle strikes the tube, a click is emitted from the speaker. This is where the characteristic clicking sound that one often associates with Geiger-Muller counters and radiation comes from. The physics behind these tubes is pretty interesting. When the particle enters the tube, it collides with the small amount of gas inside. This ionizes the gas and creates an effect called a townsend avalanche, which allows the flow of a brief pulse of electricity.

The kit I used steps the voltage up to the 400 volts necessary (at an extremely low, safe current). It’s Arduino compatible and has serial output. The tube is extremely sensitive and can pick up background radiation. Like I mentioned earlier, you should check out the creator’s blog if you’re interested. He sells kits and the tubes themselves.
My Project
I’m really excited to share the details of my project, but I don’t want to write about it just yet. I’ve read that sharing details about things you’re working on before you complete them makes you less likely to finish them. But when I’m done I’ll make a post here about the design process and about the device itself.